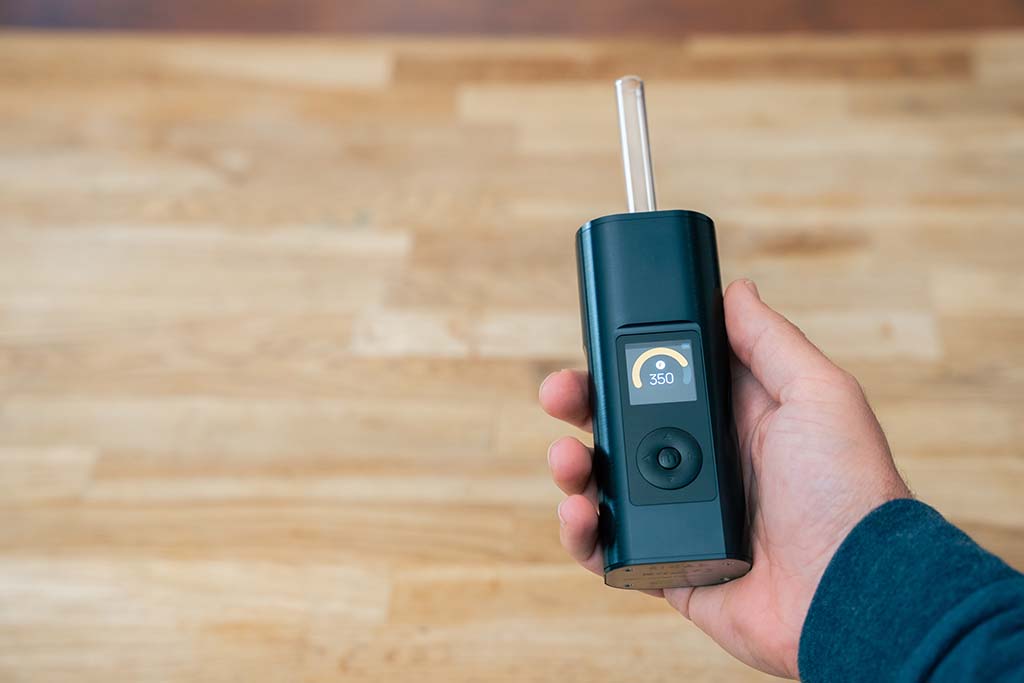
The Arizer Solo v2 dry herb vaporizer comes equipped with Arizer’s most capable vaping engine and a suite of modern features and settings. Before you deep-dive into the Solo 3’s pool of fun, use our quickstart guide to go from unboxing to vaping in no time. Let’s get into it.
Quick summary
1. Fully charge
2. Learn the controls
3. Run a burnoff
4. Grind and pack the stem
5. Click to On-demand Mode and set the temperature
6. Fire it up and take a hit
7. Empty the stem when you're finished
What’s in the box
- 1 x Solo 3 Vaporizer
- 1 x USB-C Charger (5v,3A)
- 1 x XL Glass Aroma Tube (90mm)
- 1 x XL Frosted Glass Aroma Tube (14mm)
- 1 x Air/Solo Glass Aroma Tube (90mm)
- 1 x Air/Solo Frosted Glass Aroma Tube (14mm)
- 4 x Air/Solo Silicone Stem Caps
- 2 x PVC Travel Tube w/ Cap (90mm Size)
- 2 x PVC Travel Tube w/ Cap (70mm Size)
- 1 x Stainless Steel Stirring Tool
- 4 x Air/Solo Stainless Steel Filter Screens
- 1 x Solo 3 Owner’s Manual
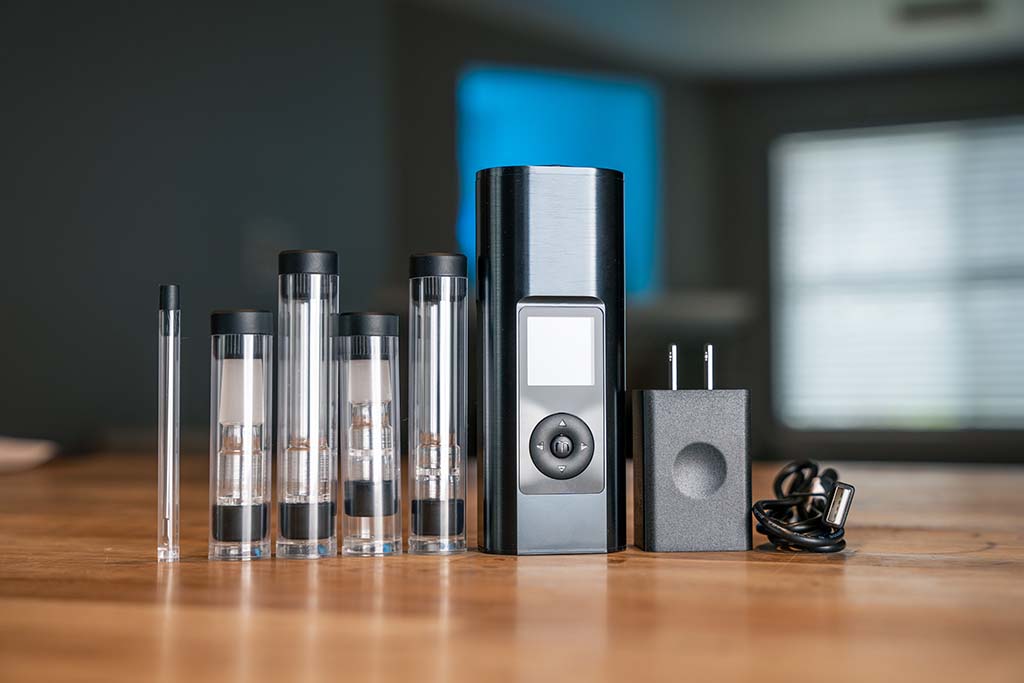
Fully charge your Solo 3
Let's top off your Arizer Solo 3 vaporizer with a full charge before we dive straight in. Take the included charge cable and adapter and plug it into the nearest power outlet. The screen will light up with its current charge and signal when it’s ready to go.
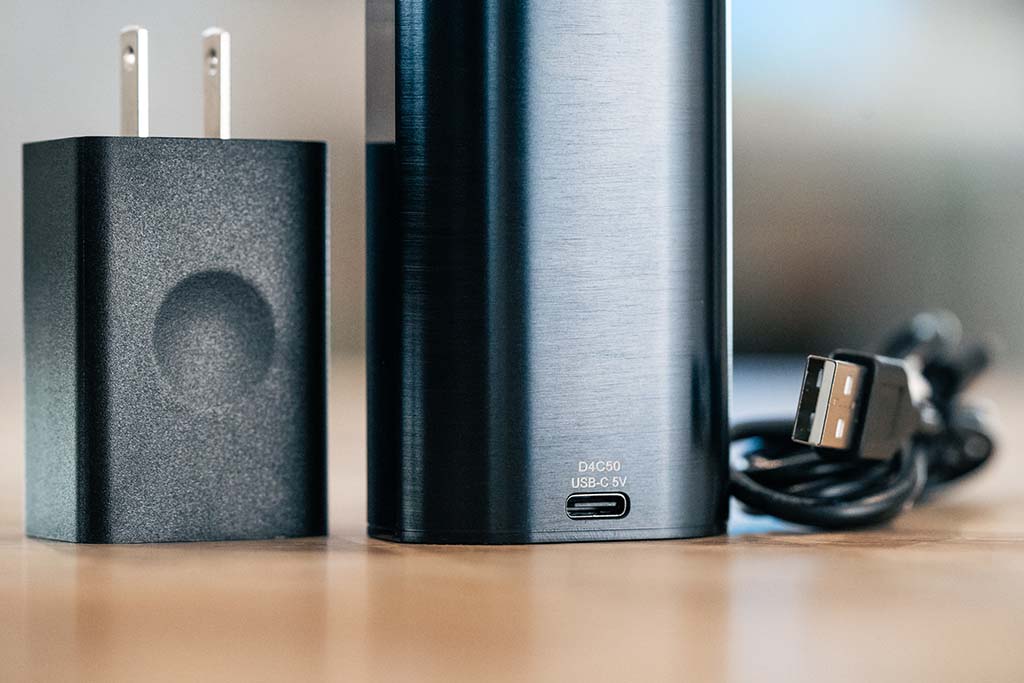
Sophisticated controls
The controls on the Solo 3 portable vaporizer are far from intuitive, especially from the start, but will become easier the more you use it. It comes with multidirectional buttons - up, down, left, and right - and a button in the middle.
To turn it on:
- Hold the Middle button for three seconds until three dots appear.
- Release the Middle button and the lock will appear. If you don’t release the center button, the Solo 3 will stare at you and go blank.
- Press Left.
- Press Up.
- Press Right (this Left-Up-Right sequence is printed on the bottom of the vape).
Once greeted by the menu, highlight Session or On-Demand mode using the Up and Down buttons. Press the Middle button to select the heat mode.
Note: The Solo 3 v2 allows you to turn this sequence off. To do this, hold the 'right' button for a few seconds while in a heat mode, scroll to the right until you get to the 'lock screen' setting, and set to 'off'.
In Session mode:
- Use the Up and Down buttons to select your desired temperature. The Solo 3 will begin heating.
In On-Demand mode:
- Double-tap the left or right buttons to select between three temperatures.
- Press Up to start the heater.
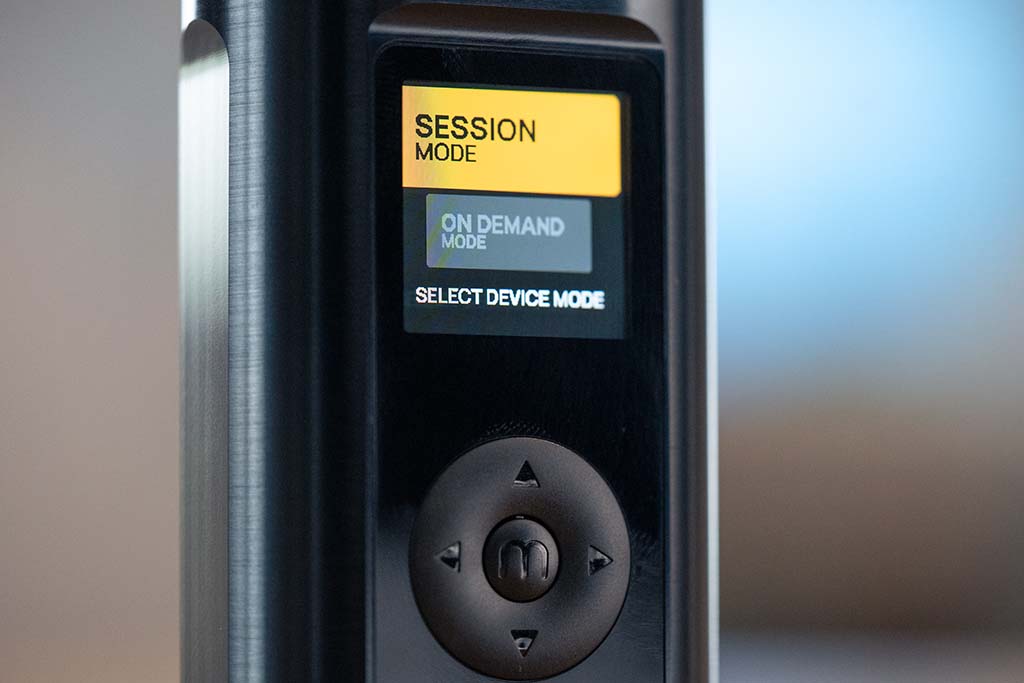
Cleanse the Solo 3 with a burnoff
We always suggest an initial burnoff session to clean and sanitize the heating chamber and bowl of any manufacturing residues.
To do this, turn your Solo 3 on to Session Mode and set it to 428°F. Click the center button once to confirm the temperature and again to activate the heater. Let it run until it shuts off.
Grind and pack the stem
The Solo 3 vaporizer comes with four different stems: two glass aroma tubes - original and XL - and two water pipe adapters - original and XL. We’ll use the original glass aroma tube (the one with the smaller bowl) for this first session.
Grind your herbs to a medium consistency and fill the stem with ground herbs. Gently press the herbs into the bowl until there is about two millimeters of distance between the herbs and the edge of the bowl.
Once the Solo 3 has cooled down from the burnoff, take the filled stem and insert it into the oven.
Turn it on to On-demand Mode and set the temperature
We’ll stick to On-demand hits for this first session. Turn your Solo 3 on and set it to On-demand Mode. Double-click the “Left” or “Right” buttons to cycle through the preset temperatures and select Temperature III (392°F / 200°C).
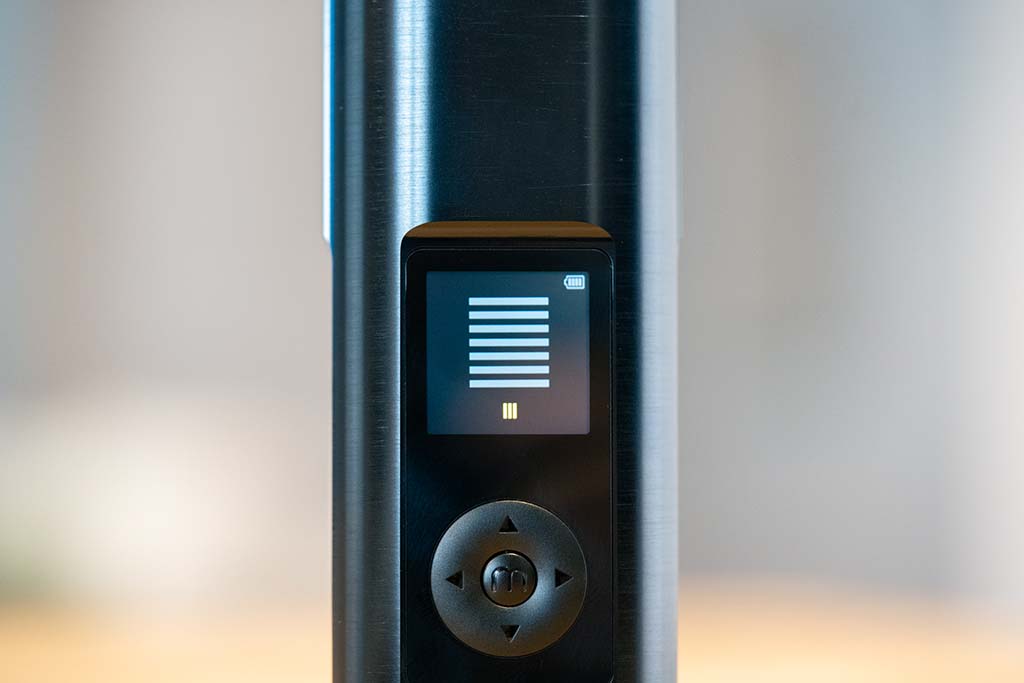
Fire it up and take a hit!
When you’re ready, press “Up” to engage the heater and wait for it to reach temperature. Once the yellow bars climb to the top, it's ready to hit.
When you’re ready, take a long, slow draw until the Solo 3 beeps (default time is 15 seconds). It’s okay if you can’t hit it for that long. If you want more, take another long hit after the heater turns off. There’s still plenty of heat in there.
Empty the stem when you’re finished
When you're all finished and the oven has cooled a bit, remove the stem and blow the spent herbs into the trash. Do this while the stem is still a bit warm to prevent the herbs from sticking to the walls. And that’s it!
It’s all yours from here!
The Solo 3 comes with a variety of settings and modes to cater to your specific vaping needs. Experiment with different temperatures, vaping modes, draw styles and techniques until you find your perfect sweet spot.
