Table of contents
The Puffco Plus is simple and straightforward when it comes to cleaning as well as improving your sessions, so we decided to combine the two into one, concise walkthrough. Follow along to get the most out of cleaning and using your Puffco Plus Vaporizer!
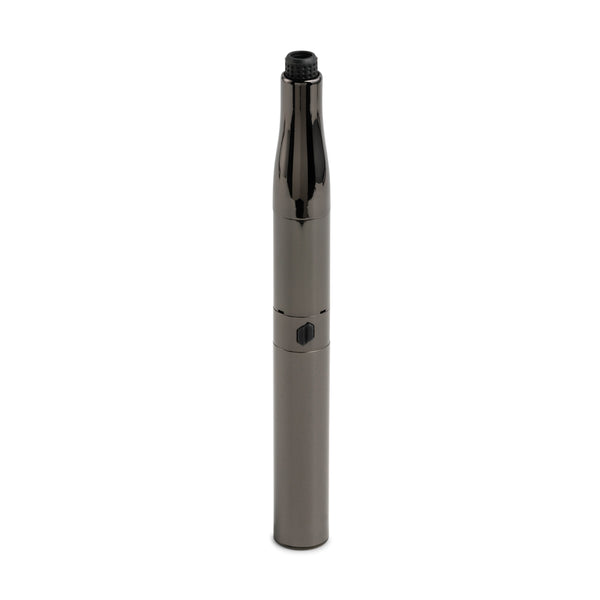
Puffco Plus Vaporizer
C$119.95
Free Canadian Shipping
Easy Returns
Expert Advice
Puffco Plus Vaporizer: A few tips
The Puffco Plus is one of the few vaporizers that is fairly straightforward and easy to use out of the box. After a lot of testing and personal use, we came up with a few tips to make our sessions simpler and more enjoyable.

Use the built-in loading tool
If you’re not using the Dart to start your sessions, you’re missing out. It places the load right in the middle of the chamber as it melts off, so it vaporizes much more evenly and sessions aren’t as messy. Plus, you don’t have to worry about carrying a separate loading tool!

Don’t fill past the air holes
If you look inside the oven chamber of your Plus, you’ll see three inlet holes along the wall. As you inhale, air enters through these holes and sends all the rich vapor straight to you. If your load is too big, it can clog the holes, or worse, slide down below. So ease up on the big loads!

Puffco Plus Vaporizer: How to clean
The Puffco Plus’s small, simplistic design makes it a breeze to clean. You’ll only need a few items to get it back to its former glory.
- Rubbing alcohol
- Small dish for soaking
- A few cotton swabs

Puffco Plus Cleaning: Quick summary
- Disassemble the vape and soak the dart and chamber
- Wipe down the mouthpiece housing
- Rinse the dart and chamber and set out to dry
- Reassemble
- Done!
Disassemble and soak
Take your Plus and unscrew the oven chamber from the battery unit. Remove the mouthpiece from the oven chamber and pull the dart out of the housing. Take the silicone tip and remove it from the dart. No need to soak this, so set it to the side for now. Drop the oven chamber and the dart in some rubbing alcohol and let them soak for a few hours.

In the meantime, dip a cotton swab in some rubbing alcohol and swab any sticky gunk off the inside of the metal mouthpiece housing. When the soak is done, set the pieces out to dry for a bit before we put it all back together.

The oven chamber
If you wipe down the oven chamber after each use with a cotton swab, there’s not much more to do. Eventually, the oven will get dirty no matter how immaculate you are with it. If you have stains that won’t wipe off, try a burnoff. After you wipe the oven clean of any residues, set the Plus to the highest temperature setting, and double-click the button to enter session mode. Watch the oven, and keep running sessions back-to-back until the stains have burned off. This will make your Plus hot, so give it a break after three or four sessions.

Reassemble and vape
Once all of the pieces are nice and dry, let’s go ahead and reassemble! Take the dart and insert the top of it back into the silicone tip. Then, grab the mouthpiece housing and push the dart back inside, silicone tip first. Screw the mouthpiece back onto the oven chamber, and that’s it!
Conclusion: To reduce frequent cleaning…
Most of the sticky gunk inside your Puffco Plus is leftover material that never got finished off. Try experimenting with different load sizes and find the one that vaporizes completely throughout your sessions, with no leftovers. Start with less, and slowly build up until you find the perfect amount for you. Once you're done with your sessions, while it’s still warm, wipe out the oven with a dry cotton swab.